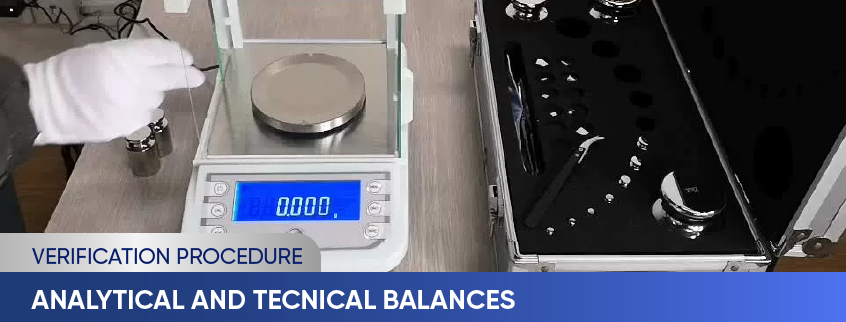
Analytical and Technical balance verification
Main Contents
- Analytical and Technical balances
- Analytical and Technical balance verification
- Why should Analytical and Technical balances be verified?
- Verification procedure - Analytical and Technical balances
With the progress of technology, analytical and technical balances are becoming more popular, and many production and business enterprises choose them to measure products, goods, and raw materials because of their ability to perform measurements with very small to extremely small errors.
1. Analytical and Technical balances
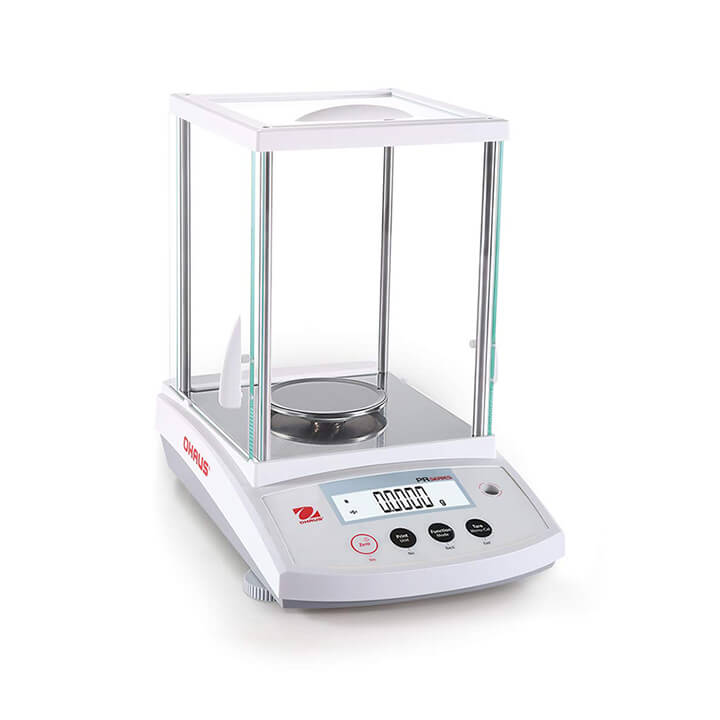
Analytical balances are non-automatic scales with special accuracy (accuracy classes I according to the classification of OIML R76, also known as accuracy class 1).
Analytical balance is a form of high-precision electronic balance, with a resolution of 4 to 5 odd numbers, made to measure very small measurements with extremely small errors. Analytical balances are often used in laboratories of biology, chemistry, electronics, etc.
1.2 What are Technical balances?
Technical scales are high-precision non-automatic weighing instruments (accuracy level II according to the classification of OIML R76, also known as accuracy level 2).
This is a line of electronic scales with accuracy level II or III, used in fields requiring high precision, specialized such as gold, silver, and gemstones, and manufacturing small-weight equipment such as spare parts,...
.jpg)
1.3 The basic difference between analytical balances and technical balances
Analytical scales and technical scales are both types of electronic scales, but there are some key differences between the two:
- Accuracy: Analytical balances are more accurate than technical balances, with a minimum error of 0.001g or 1mg. Technical balances have lower accuracy than analytical balances, with a minimum error of 0.1g or 10mg.
- Application: Analytical balances are used in laboratories, hospitals, research and development facilities,... to weigh and measure samples with small weights and need high accuracy. Technical scales are used in industry, manufacturing, commerce,... to weigh and measure objects with greater weight and lower accuracy.
- Display screen: Analytical balance has a large LCD screen, lots of information, and many functions. Technical scales have small LCD screens, little information, and few functions
- Price: Analytical balances are more expensive than technical balances.
2. Analytical and Technical balance verification
Testing analytical balances and technical scales is to determine and review the suitability of the type of vehicle against legal requirements to meet specific technical criteria or not. The inspection process is carried out by competent authorities regulated by the state.
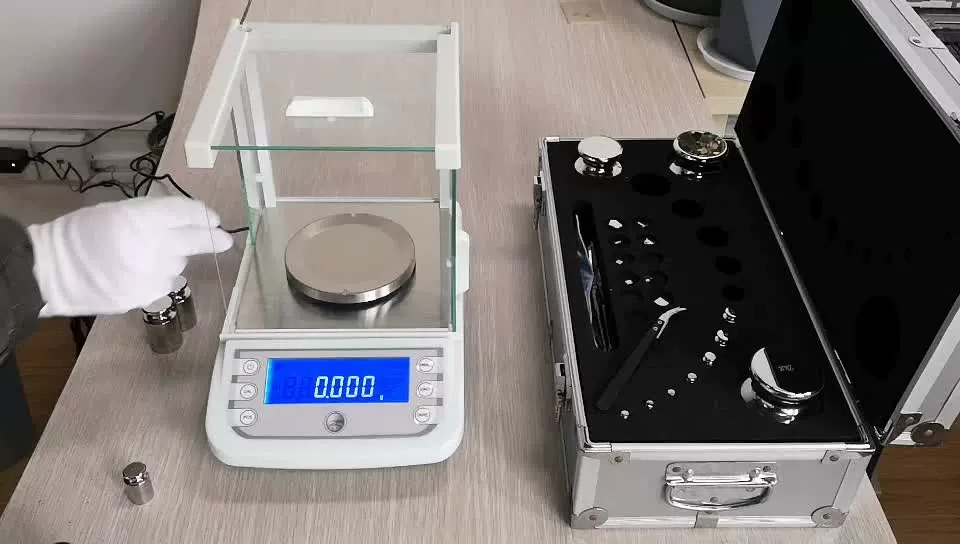
Inspection is mandatory for measuring instruments on the "List of equipment required to be inspected" according to the decision of the Ministry of Science and Technology.
After completing the inspection process, analytical scales and technical scales will be affixed with an inspection stamp certifying that the product is qualified.
3. Why should Analytical and Technical balances be verified?
Electronic scales need to be calibrated before being put into use because if not calibrated, there will be errors. Electronic scales when imported from abroad need to be tested to make the scales more accurate when put into use, to avoid causing damage to users.
Scale inspection will increase credibility when used because the scale is inspected by competent agencies that grant inspection licenses.
4. Verification procedure - Analytical and Technical balances
The order, procedures, methods and means of verifying analytical balances and technical scales have been specified in technical documents. ĐLVN 16: 2021. Below is a summary presentation of the analytical and technical balance verification process:
- This technical document stipulates the initial inspection process, periodic inspection and post-repair inspection for analytical balances and technical scales with unlimited maximum weight capacity and control scale value ≥ 1 mg.
- When testing analytical balances: Set standard weights of accuracy level E2, F1, or higher
- When testing technical scales: Set of standard weights of accuracy level F1, F2, or higher
- Other means: Thermometer
- The inspection place must be dry, clean, well-lit, and the temperature must be within the working temperature range specified by the scale manufacturer. Temperature fluctuations need to be within the limits:
- ± 2 ºC for analytical balance
- ± 5 ºC for technical scales
- The influence of external influences (wind, heat, electromagnetic field, grid voltage, etc.) does not distort the test results.
- The scale table must be solid, ensuring the scale is not affected by vibration sources
- Clean the weighing location, inside and outside the weighing chamber;
- Check the balance, if necessary, adjust the scale to make it neat and balanced;
- Turn on the power to dry the electronic scale for at least 30 minutes or according to the manufacturer's requirements.
- Open the weighing chamber door to balance the temperature between the inside and outside space;
- Place the standard weights next to the scale that needs to be tested, and stabilize the temperature for the standard weights for a time not less than the value specified in Table 3. (technical document ĐLVN 16: 2021)
- The scale must have all necessary parts and accessories.
- The indicator of the scale must be clear and read accurately.
- The scale must have a label with at least the following information:
- Scale symbol or manufacturing facility;
- Number of pounds; + Maximum weight level (Max);
- Check division value;
- Exact level;
- Division value
- The load-receiving part of the scale must be sturdy and not be entangled by other parts of the scale.
- The scale must have a sealing position that prevents adjustment of the scale's accuracy.
- For scales, the accompanying set of weights must be used. This set of weights must have an accuracy level appropriate to the scale and have a valid inspection certificate.
- Increase the starting load 3 times, starting load level is equivalent to (80 ~ 100)% Max. During the initial loading process, the scale must operate normally.
- General regulations according to section 7.3.1 technical document DLVN 16: 2021
- Determine the error at a weighing level according to section 7.3.2 technical document DLVN 16: 2021
- Check dynamic performance according to section 7.3.3 technical document DLVN 16: 2021
- Check the "0" score error according to section 7.3.4 technical document DLVN 16: 2021
- Check eccentricity according to section 7.3.5 technical document DLVN 16: 2021
- Check repeatability according to section 7.3.6 technical document DLVN 16: 2021
- Check the accuracy according to section 7.3.7 technical document DLVN 16: 2021
- Analytical scales and technical scales, after inspection, if they meet the specified requirements of this inspection process, will be issued with an inspection certificate (inspection certificate and inspection stamp and/or inspection mark, etc. ) according to the law. Inspection marks must be affixed (or seals must be affixed) at positions that prevent accurate adjustment of the scale.
- Analytical balances and technical scales, after inspection, if they do not meet one of the requirements specified in this inspection process, will not issue a new inspection certificate and delete the old inspection mark (if any).
- Verification cycle of analytical balances and technical scales: 12 months
To consult and request a quote on our verification services, please kindly contact us via the following information:
LABORATORY: DONG TAM MEASUREMENT AND TECHNICAL TRADING SERVICE CO., LTD
Address: No.57-59 Street 11, Binh Hung Residential Area, Binh Hung Commune, Binh Chanh District, Ho Chi Minh City
TEL: 028 375 83 869 - Hotline: 0909 347 891 (Mr. Lâm)
Email: info@dongtam-mes.vn
Relative post | Xem tất cả
- Stopwatches calibration
- ORP meter calibration
- Hydrometer calibration
- Analytical and Technical balance calibration
- Spring dial scales verification
- Spring dial scales calibration
- Bench weight scale verification
- Bench weight scales calibration
- Platform scales verification
- Platform scales calibration
- Chlorine meter calibration
- Total suspended solids (TSS) meter calibration





 Legal
Legal  Call: 0283.7583869
  Search for Certificate
  Contact